How to configure Azure DevOps CICD
Posted on January 20, 2021
Azure DevOps has set of capabilities to enable CICD pipelines. In this article, we are going to explain on what is CICD and how we can enable in in Azure DevOps with our recommended steps
What is CICD
Continuous Integration (CI)
Continuous Integration is a process which helps developers to identified the quality of the code soon after complete the development. Practically you will commit and push your code changes once you feel you are good with the work you doing.
Before you push code changes, ideally you have to make sure whether your code is comply with the standards followed in your project.
You can do few stuff like following to make sure you are compliant. However list of activities will depend on the technology stack you are using.- Compile the code
- Unit Test
- Check Code Coverage
- Generate output files(publish)
But the thing is, how we can make sure all the developers will do the same all the time.
When we used Continuous Integration, we can automate all of these as soon as anyone push changes to selected set of branches.
In Azure DevOps, we will use Pipelines for this.
Continuous Delivery (CD)
Continuous Delivery comes to action where you stop the Continuous Integration. Now we have a valid output and next we have to think about how we can deliver or deploy the output. When someone push ay changes, system will automatically validate, Compile and deploy to selected environment so that we can see, how changes are looks like on real world
Azure DevOps Releases are there for this.
How to use CICD in Azure DevOps
How to use Azure DevOps Pipelines
Create new azure pipeline
- Navigate inside the azure DevOps project you want to create pipeline
- Inside the Pipeline menu you will find another submenu called Pipelines
- If you dont have any pipeline created already for this project, you will see the following image
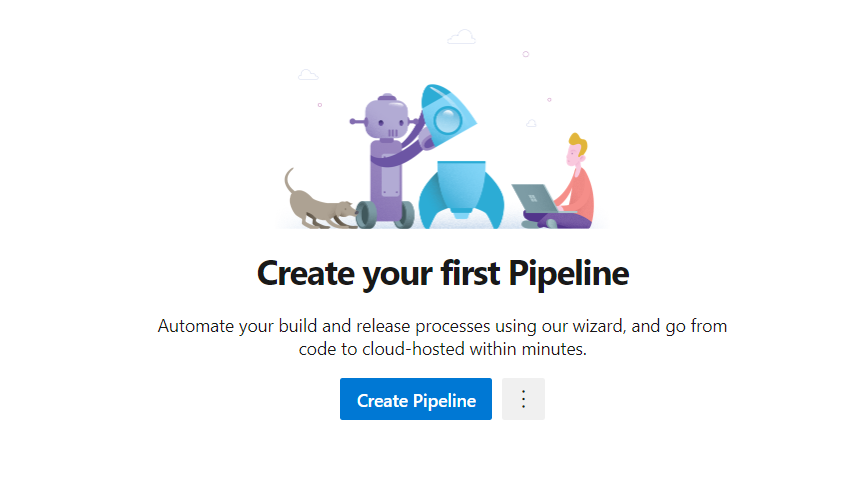
- Click on Create Pipeline
Configure your code
-
As the next step you will prompt to select the code location. As we mentioned earlier, we will show
you how
to connect with azure Repos
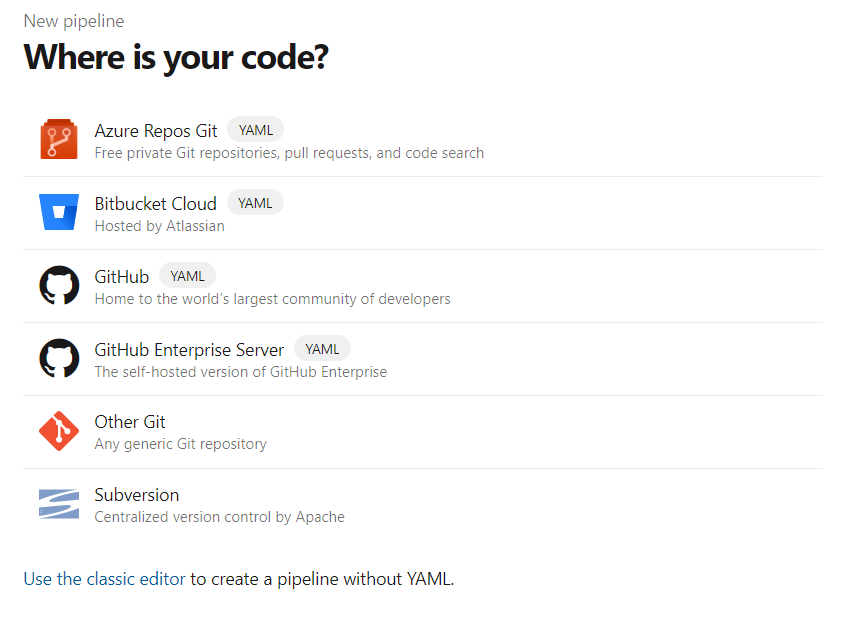 Select the Azure Repos Git
- Select the repository you want to configure

- You will prompt to configure the pipeline
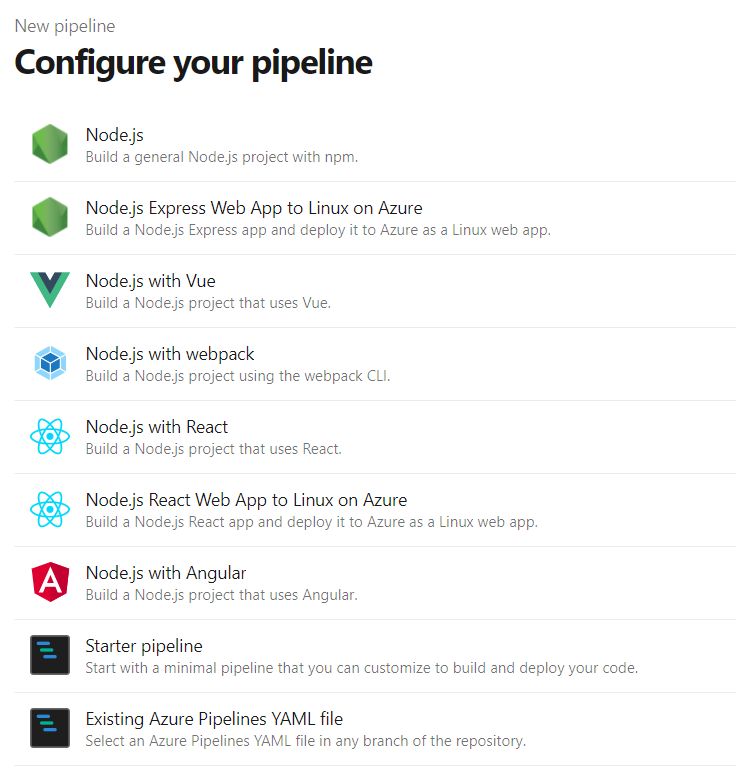 Let's select Starter pipeline
Review your pipeline YAML
- Click on Show assistant in top right corner. It will show you a UI helper to add steps.
- Select the tasks based on the technology stack you use in your repository
- Make sure to add tasks for build, test, publish and attach publish output as build artifact
- Click Save and run
You have a pipeline configured with master branch. When there a push for master branch your pipeline will trigger and do the steps you configured in yaml. you can add any branch in to trigger: section
How to use Azure DevOps Releases
Create new release
- Navigate inside the azure DevOps project you want to create release
- Inside the Pipeline menu you will find another submenu called Releases
- If you don't have any release created already for this project, you will see the following image
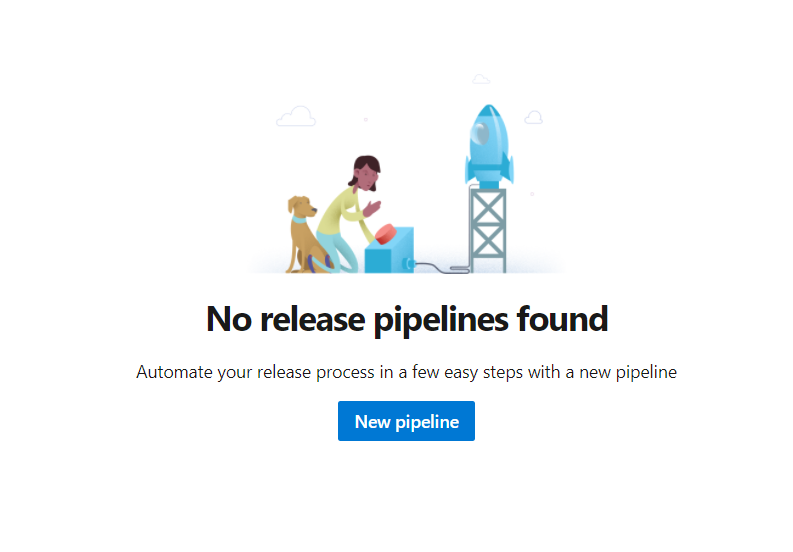
- Click on New pipeline
- Give a name for stage and select an owner for the stage
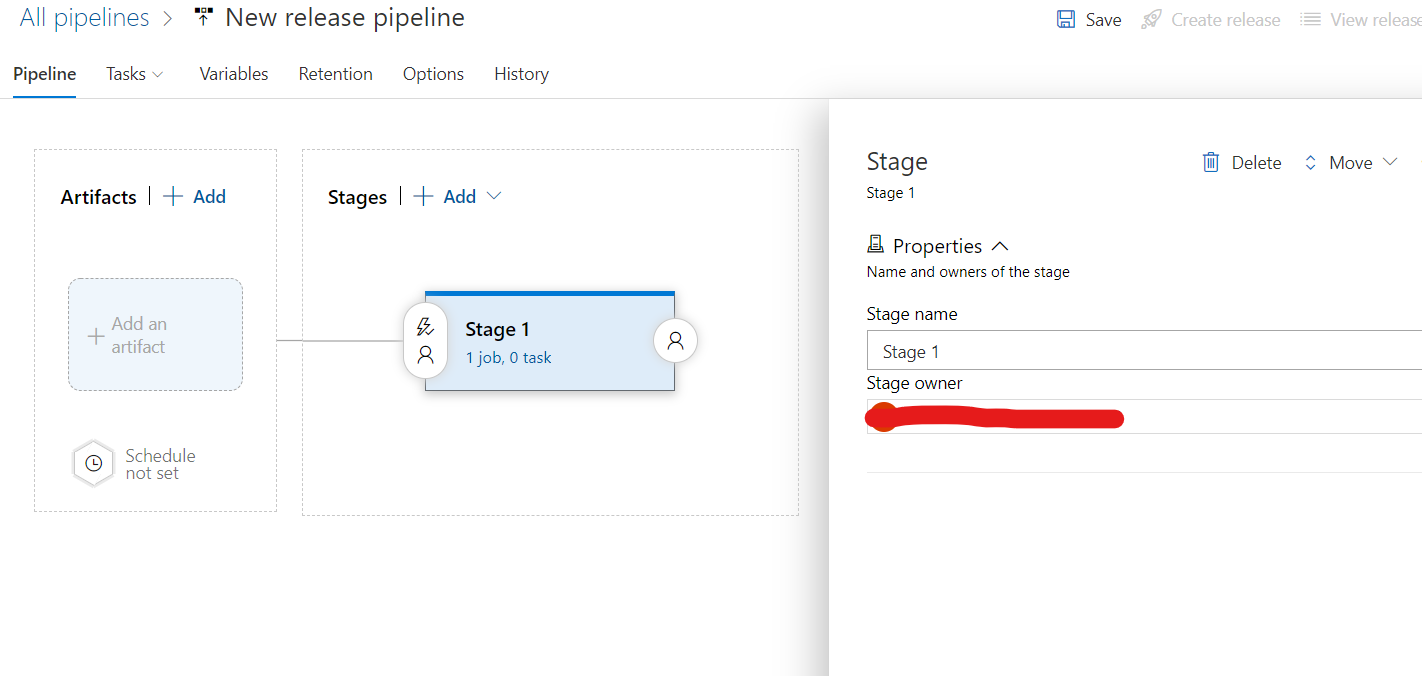
Stage is representing an environment to demploy. You can deploy the same build to multiple environments using stages. you can create multiple stages here
- Click on Add an artifact and select the build pipeline you have created
- Go inside the stage and add set of tasks based on the environment you are going to deploy
- Click on the Continuous deployment trigger button and set enable
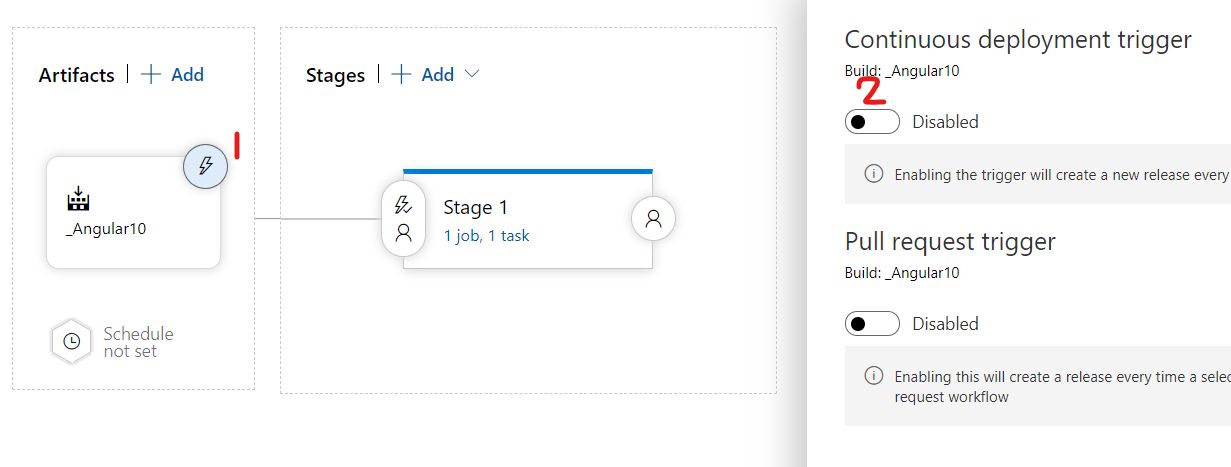
- Additionally you can set pre / post deployment conditions in any stage
- Click on Save
That's all for today and see you soon in another very exiting tutorial