Getting started with Azure DevOps
Posted on July 20, 2020
Azure DevOps support you to work on your software project from requirement to deployment. In order to facilitate that DevOps has five main features. Azure Boards, Azure Repos, Azure Pipelines, Azure Test Plans, and Azure Test Artifacts. In this tutorial, we will explain how to setup the environment to use DevOps service.
Setting up the environment for DevOps
 If you already connected with DevOps, you can sign in. Or else, you can sign up using your Microsoft account. Let's see how we can sign up
Sign up with a personal Microsoft account
To start with the Azure DevOps service, you need to have an Microsoft account. If you don't have a Microsoft account, you can create one when you sign up for Azure DevOps. To learn more, see create a Microsoft account.
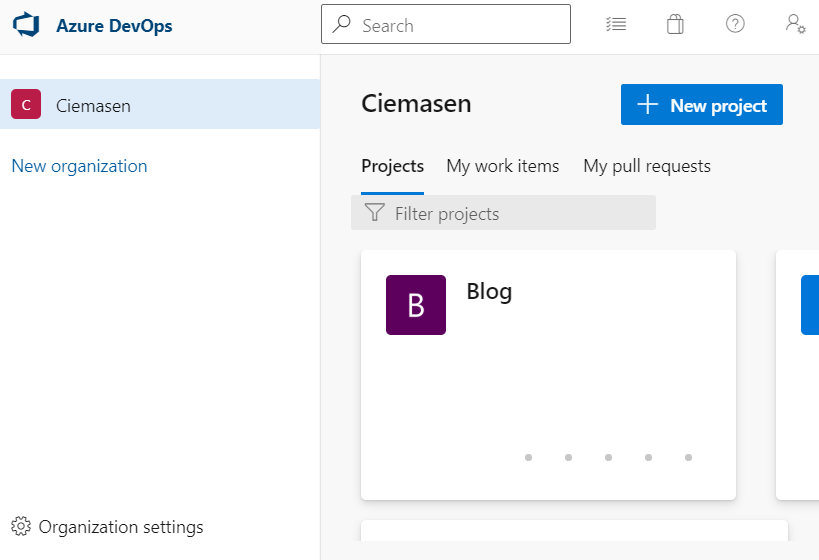
Once you provide your email address and password, It will create an Organization based on the account you used to sign in.
Your Organization url will looks like https://dev.azure.com/{yourorganization}.

Create a new organization
You can create multiple organizations in Azure DevOps service.- Click on New organization.
-
Provide the prefered organization name and the location

- Confirm information, and then select Continue
Rename an organization
-
Sign in to your organization.
https://dev.azure.com/{yourorganization} - Select Organization settings.
- Select Overview
- Enter a new name for the organization
- Click on the use new url toggle, that will update the organization url accordingly
- Click on save
Delete an organization
-
Sign in to your organization.
https://dev.azure.com/{yourorganization} - Select Organization settings.
- Select Overview
- Select Delete
- Enter the name of the organization, and then select Delete
Create a project
-
Sign in to your organization.
https://dev.azure.com/{yourorganization} -
Click on New Project

- Provide Project name and Description
-
Set the Visibility to Public or Private
- Public, Everyone will have read only access to the project even without sign in to DevOps. This includes code and work items as well.
- Private, Users get access based on their access level and permissions
-
Select Version control
- Git. Git is a distributed version control system. Developers has a local copy of the repository on their machine. They can perform version control operations even without connecting to the internet.
- Team Foundation Version Control. Team Foundation Version Control (TFVC) is a centralized version control system. Developers will have only one version of the code and history will be maintain in the server. you have to connect to the server to perform the version control operations.
-
Select Work item process out of Basic, Agile, Scrum, and CMMI.
Basic is the most lightweight and is in a selective Preview. Scrum is the next most light-weight. Agile supports many Agile method terms, and CMMI, which stands for Capability Maturity Model Integration, provides the most support for formal processes and change management.
- Click on Create
Add team members
-
Sign in to your organization.
https://dev.azure.com/{yourorganization} - Select Organization settings.
-
Select Users > Add users

- Type email addresses of the users you want to add
-
Select the Access level
- Stakeholder. You can have any number of stakeholders to the organization free of charge. With Stakeholder access, users can create and modify work items and create and save queries. They also can view and approve release pipelines and perform administrative tasks when granted administrative permissions or added to an administrative group
- Basic. You have 5 free Basic license per organization based on the With Basic access, users will have access to almost all the features other than the Test plan access. Users who has Visual Studio Professional subscription will get the same features without any additional cost.
- Basic + Test Plans. This will include the all the features. Users with a Visual Studio Test Professional or Visual Studio Enterprise or MSDN Platforms subscription will get the same features without any additional cost.
- Visual Studio subscription. Based on the Visual Studio subscription user has, they will get access without additional cost.
- Add to project. Select the projects you want to add users
- Select Add to complete
Now you have Azure DevOps organization, DevOps project and users assigned to the project.